Power BI is a powerful business intelligence and data visualization tool developed by Microsoft. While it is widely used in various industries, Power BI offers several features and functionalities that can be highly beneficial for analyzing and visualizing data in the field of Sports Science. However, some features of Power BI, such as Power BI Desktop, which is used for creating reports and visualizations, is only officially available for Microsoft Windows. As a MacBook user, you won’t have a native version of Power BI Desktop, which means you won’t be able to take full advantage of the desktop-based authoring capabilities. Despite these limitations, there are some solutions available for MacBook users who want to use Power BI Desktop, that are presented below.
1. Virtual Machines
2. Apple Boot Camp
3. Boot Camp with External SSD
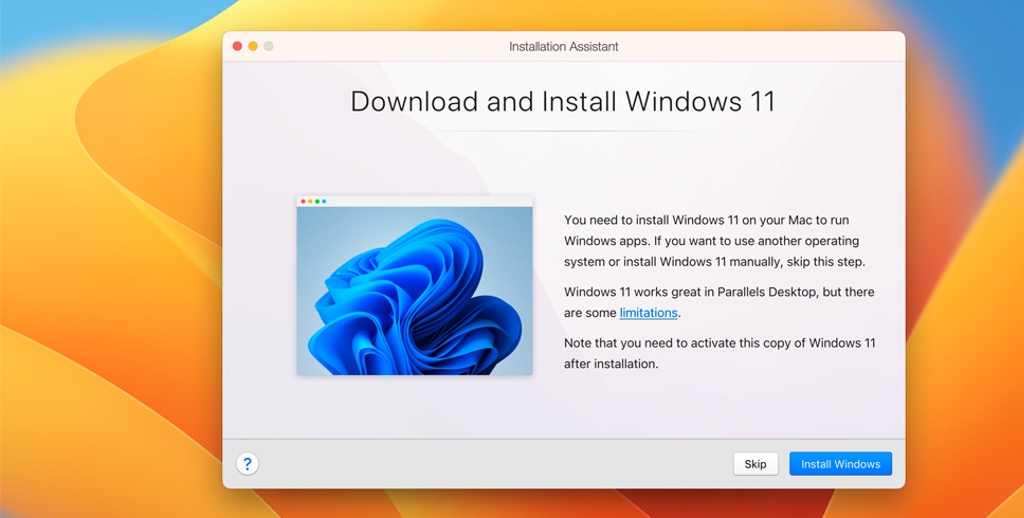
In this first article we present how to run Power BI Desktop after installing a Virtual Machine with Microsoft Windows.
Virtual Machines are often considered the best solution for beginner users who want to use Microsoft Windows on a MacBook, because they are usually simple to user, offer a seamless integration, are safety and secure, are flexible and present a good cost-benefit. Parallels Desktop, VMWare Fusion Player, Virtual Box and UTM are four popular Virtual Machine solutions for running Microsoft Windows on a MacBooks. While Parallels Desktop is often considered one of the best options, it’s important to note that other solutions such as VMWare Fusion Player, VirtualBox, and UTM also have their own strengths and benefits. It should be noted that VirtualBox and UTM are free and open-source apps, although the less user-friendly solution and the difficult to setup and run Microsoft Windows on M-series machines. Similarly, VMware Fusion Player also offers a personal use license, available for free although the greater difficulty to configure in M-series machines.
How to install and run Power Bi Desktop on MacBooks with Apple M-series chips:
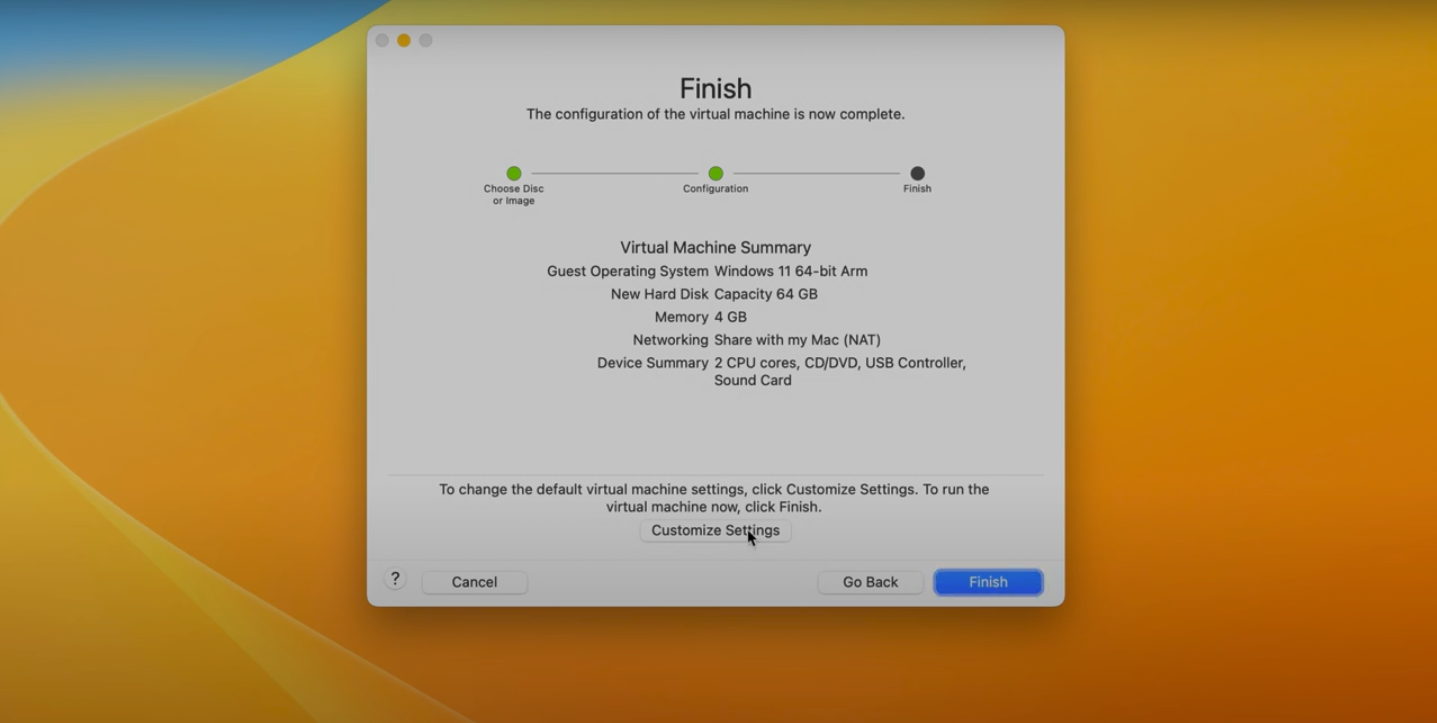
Please note that, so far, Parallels Desktop is the only official solution ensured by Microsoft for using Windows 11 with MacBooks with Apple M-series (i.e., Apple M1 and Apple M2 chips). There are other unofficial solutions to install Windows 11 with VMWare Fusion Player, VirtualBox, and UTM but need special procedures and require higher computer skills. For further informations, please contact.
How to install and run Power Bi Desktop on MacBooks with an Intel chip:
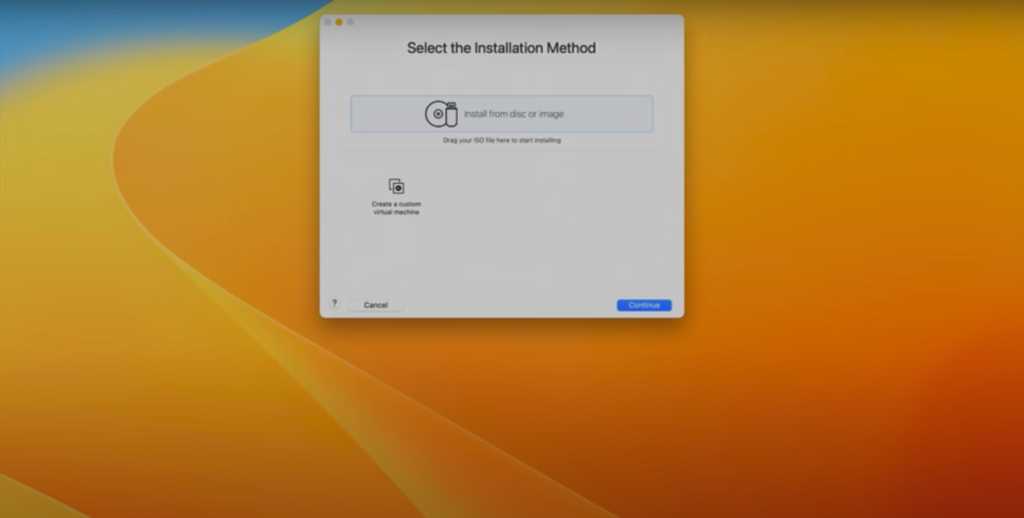
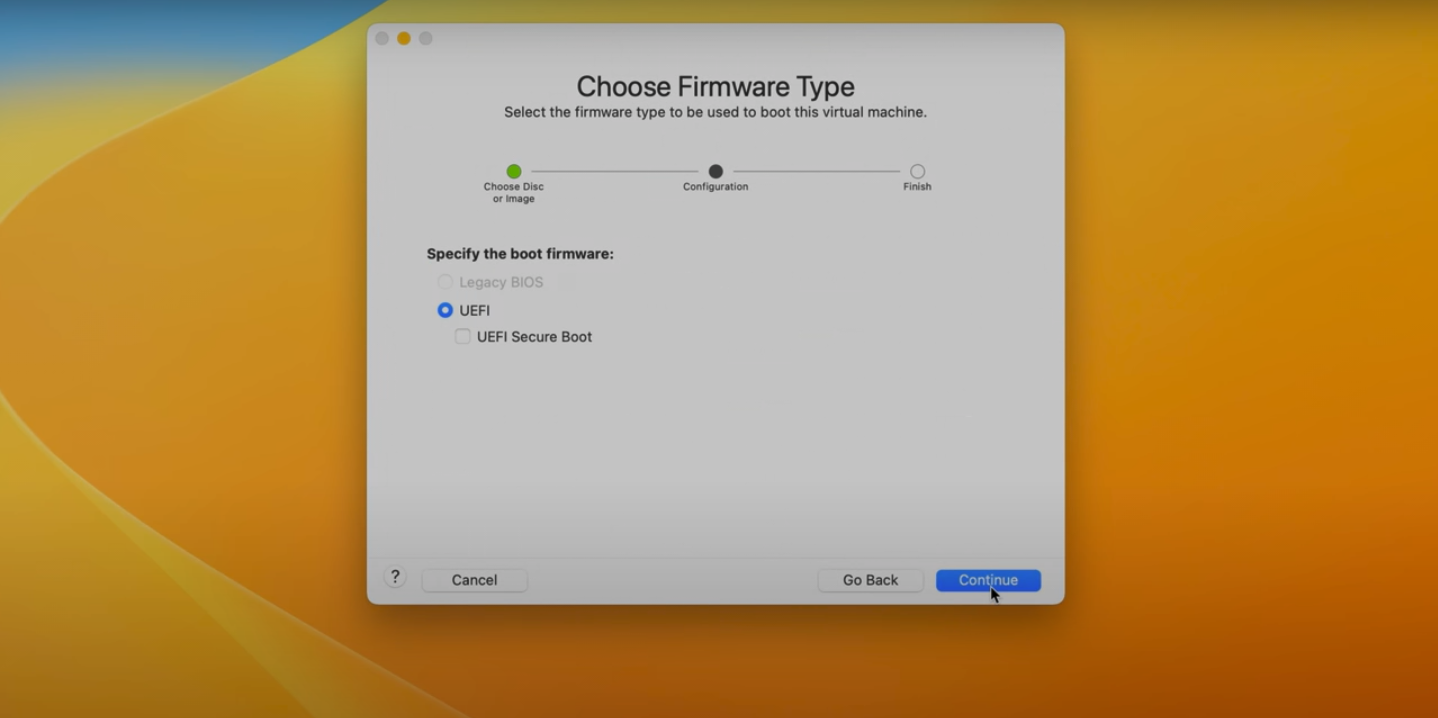
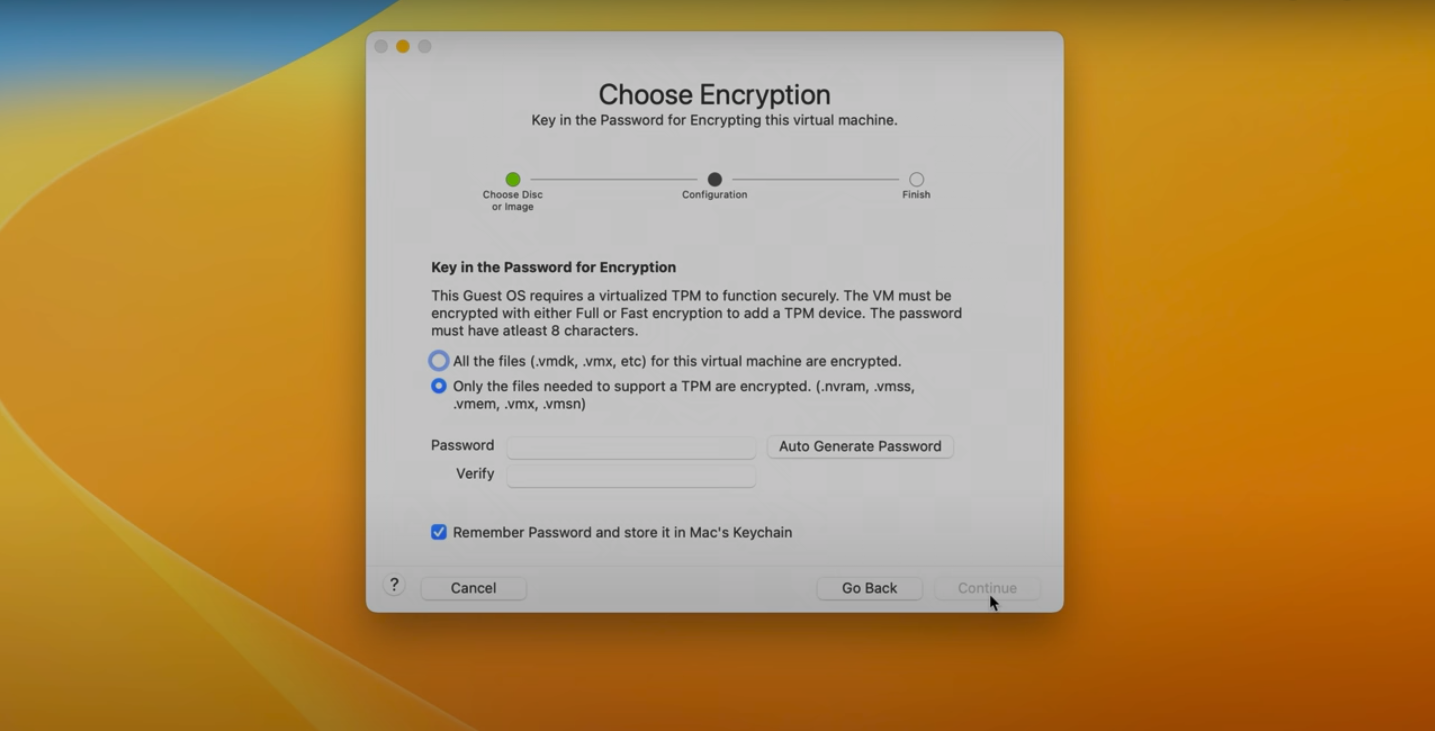
To install Microsoft Windows 11 with Parallels Desktop in a MacBook with an Intel chip (e.g., i5, i7, or i9), follow the procedures above. To install Microsoft Windows 11 (or another version) with VMware Fusion Player in a Macbook with an Intel chip (e.g., i5, i7, or i9) and benefit from a free personal use license follow the procedures bellow:
For further informations about the installation of Microsoft Windows with VirtualBox or UTM, please contact.