In the first part of this topic, we presented how to run Power BI Desktop after installing a Virtual Machine with Microsoft Windows. In this second part we demonstrate how to run Power BI Desktop using Apple Boot Camp or Boot Camp with a External SSD Drive.
We need first to understand some disadvantages of using Virtual Machines and how Apple Boot Camp may be an option. Running a Virtual Machine requires allocating system resources, such as CPU, RAM, and storage to the virtualized operating system which can lead to a decrease in overall performance compared to running the operating system natively. For instance, intensive tasks, or demanding applications, such as Power BI Desktop, may not perform as well may potentially slowing down the overall performance of the system.
On the other hand, the use of Apple Boot Camp allows the installation of Microsoft Windows natively on MacBook, providing optimal performance since the hardware is dedicated solely to running Windows. This means that Microsoft Windows runs directly on the hardware, providing seamless integration what ensures better compatibility with specific apps from Microsoft Windows and offers better experiences to users. Therefore, for older MacBooks, with an Intel chip, Apple Boot Camp may be a better solution.
Please note that, so far, Apple Boot Camp is only available for MacBooks with Intel processors and Parallels Desktop is the only official solution ensured by Microsoft for using Windows 10 or Windows 11 with MacBooks with Apple M-series (i.e., Apple M1 and Apple M2 chips).
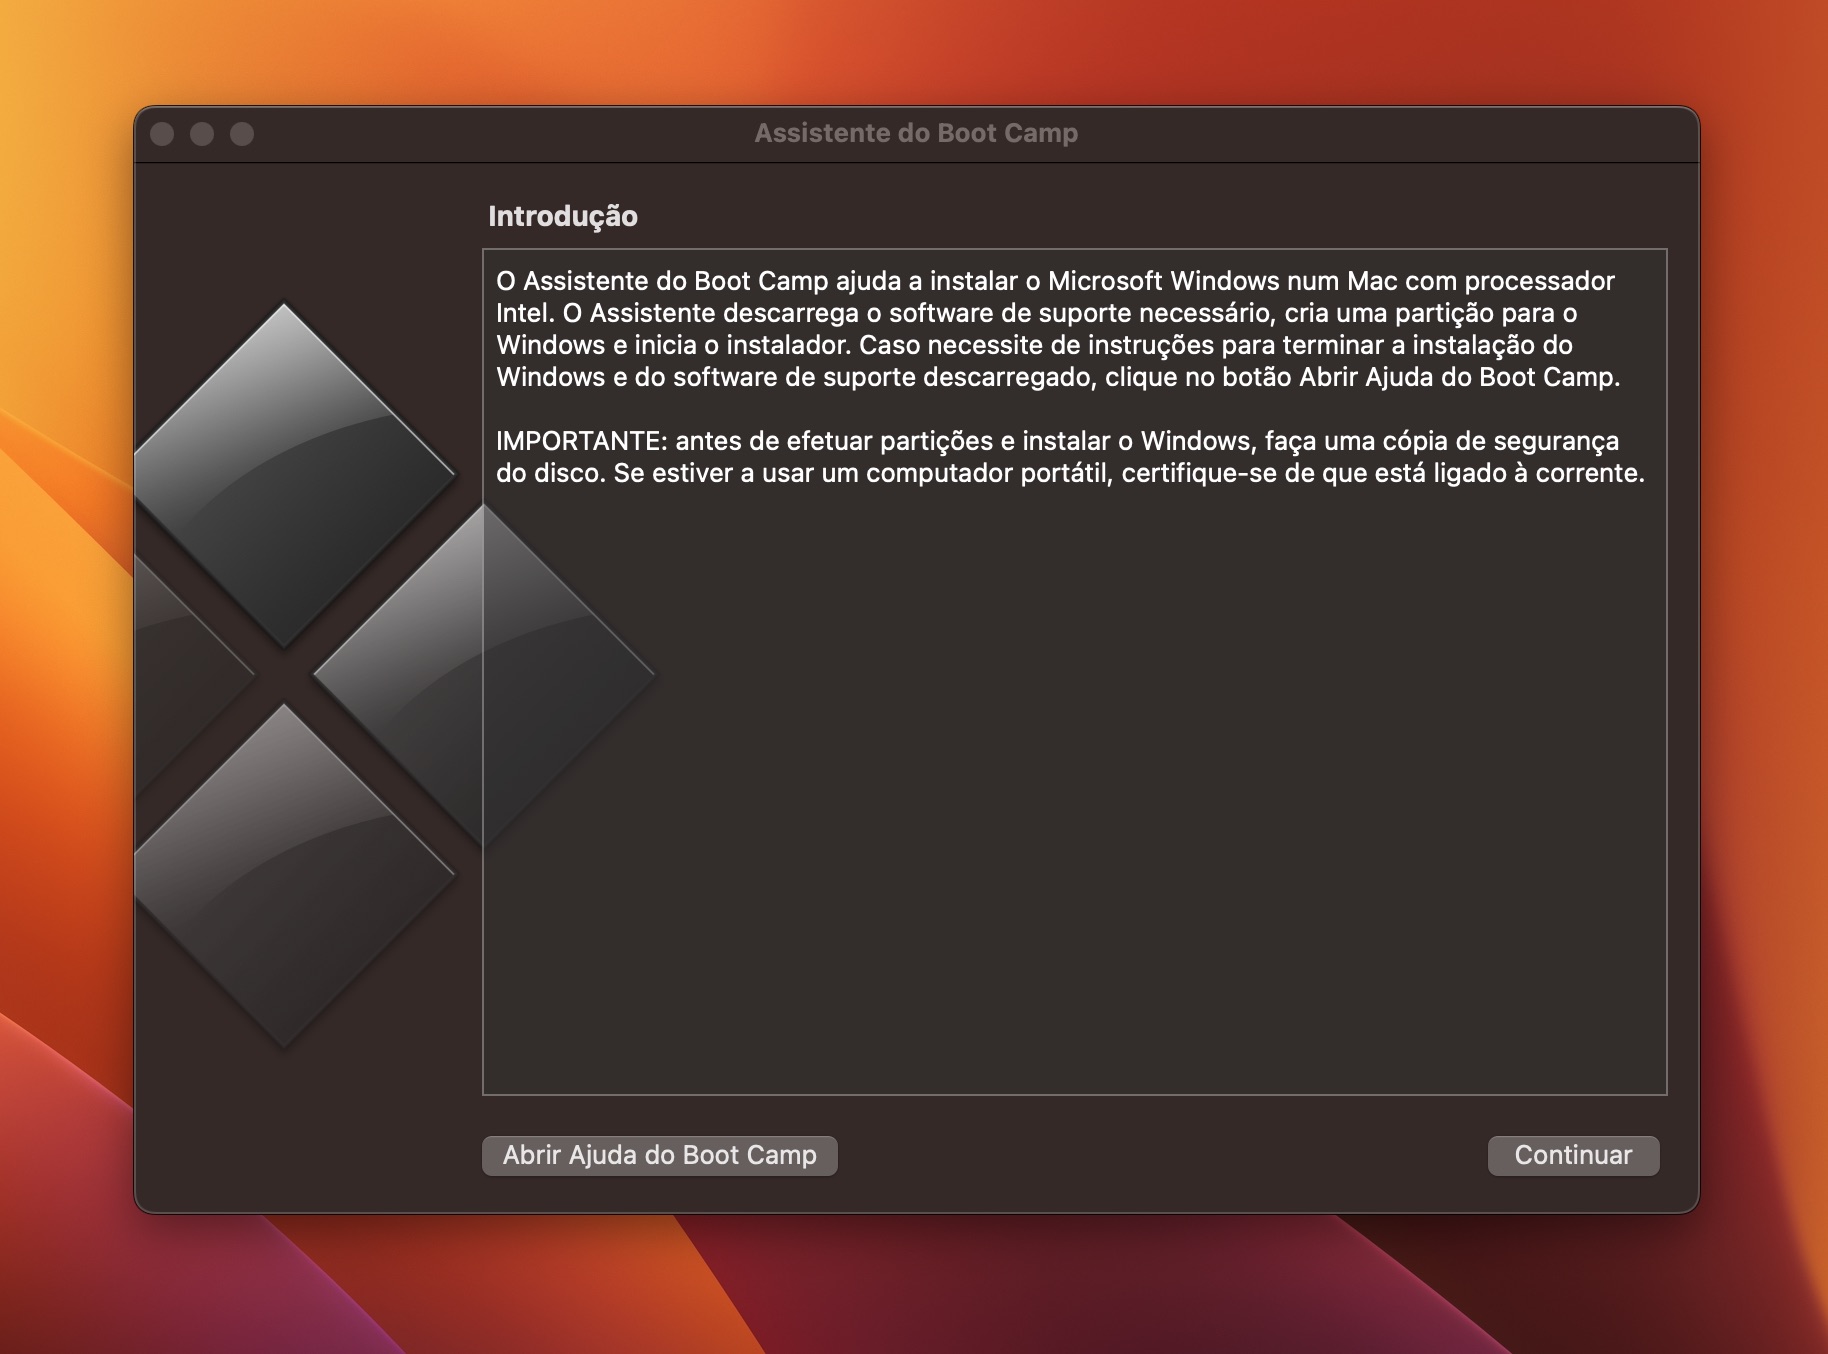
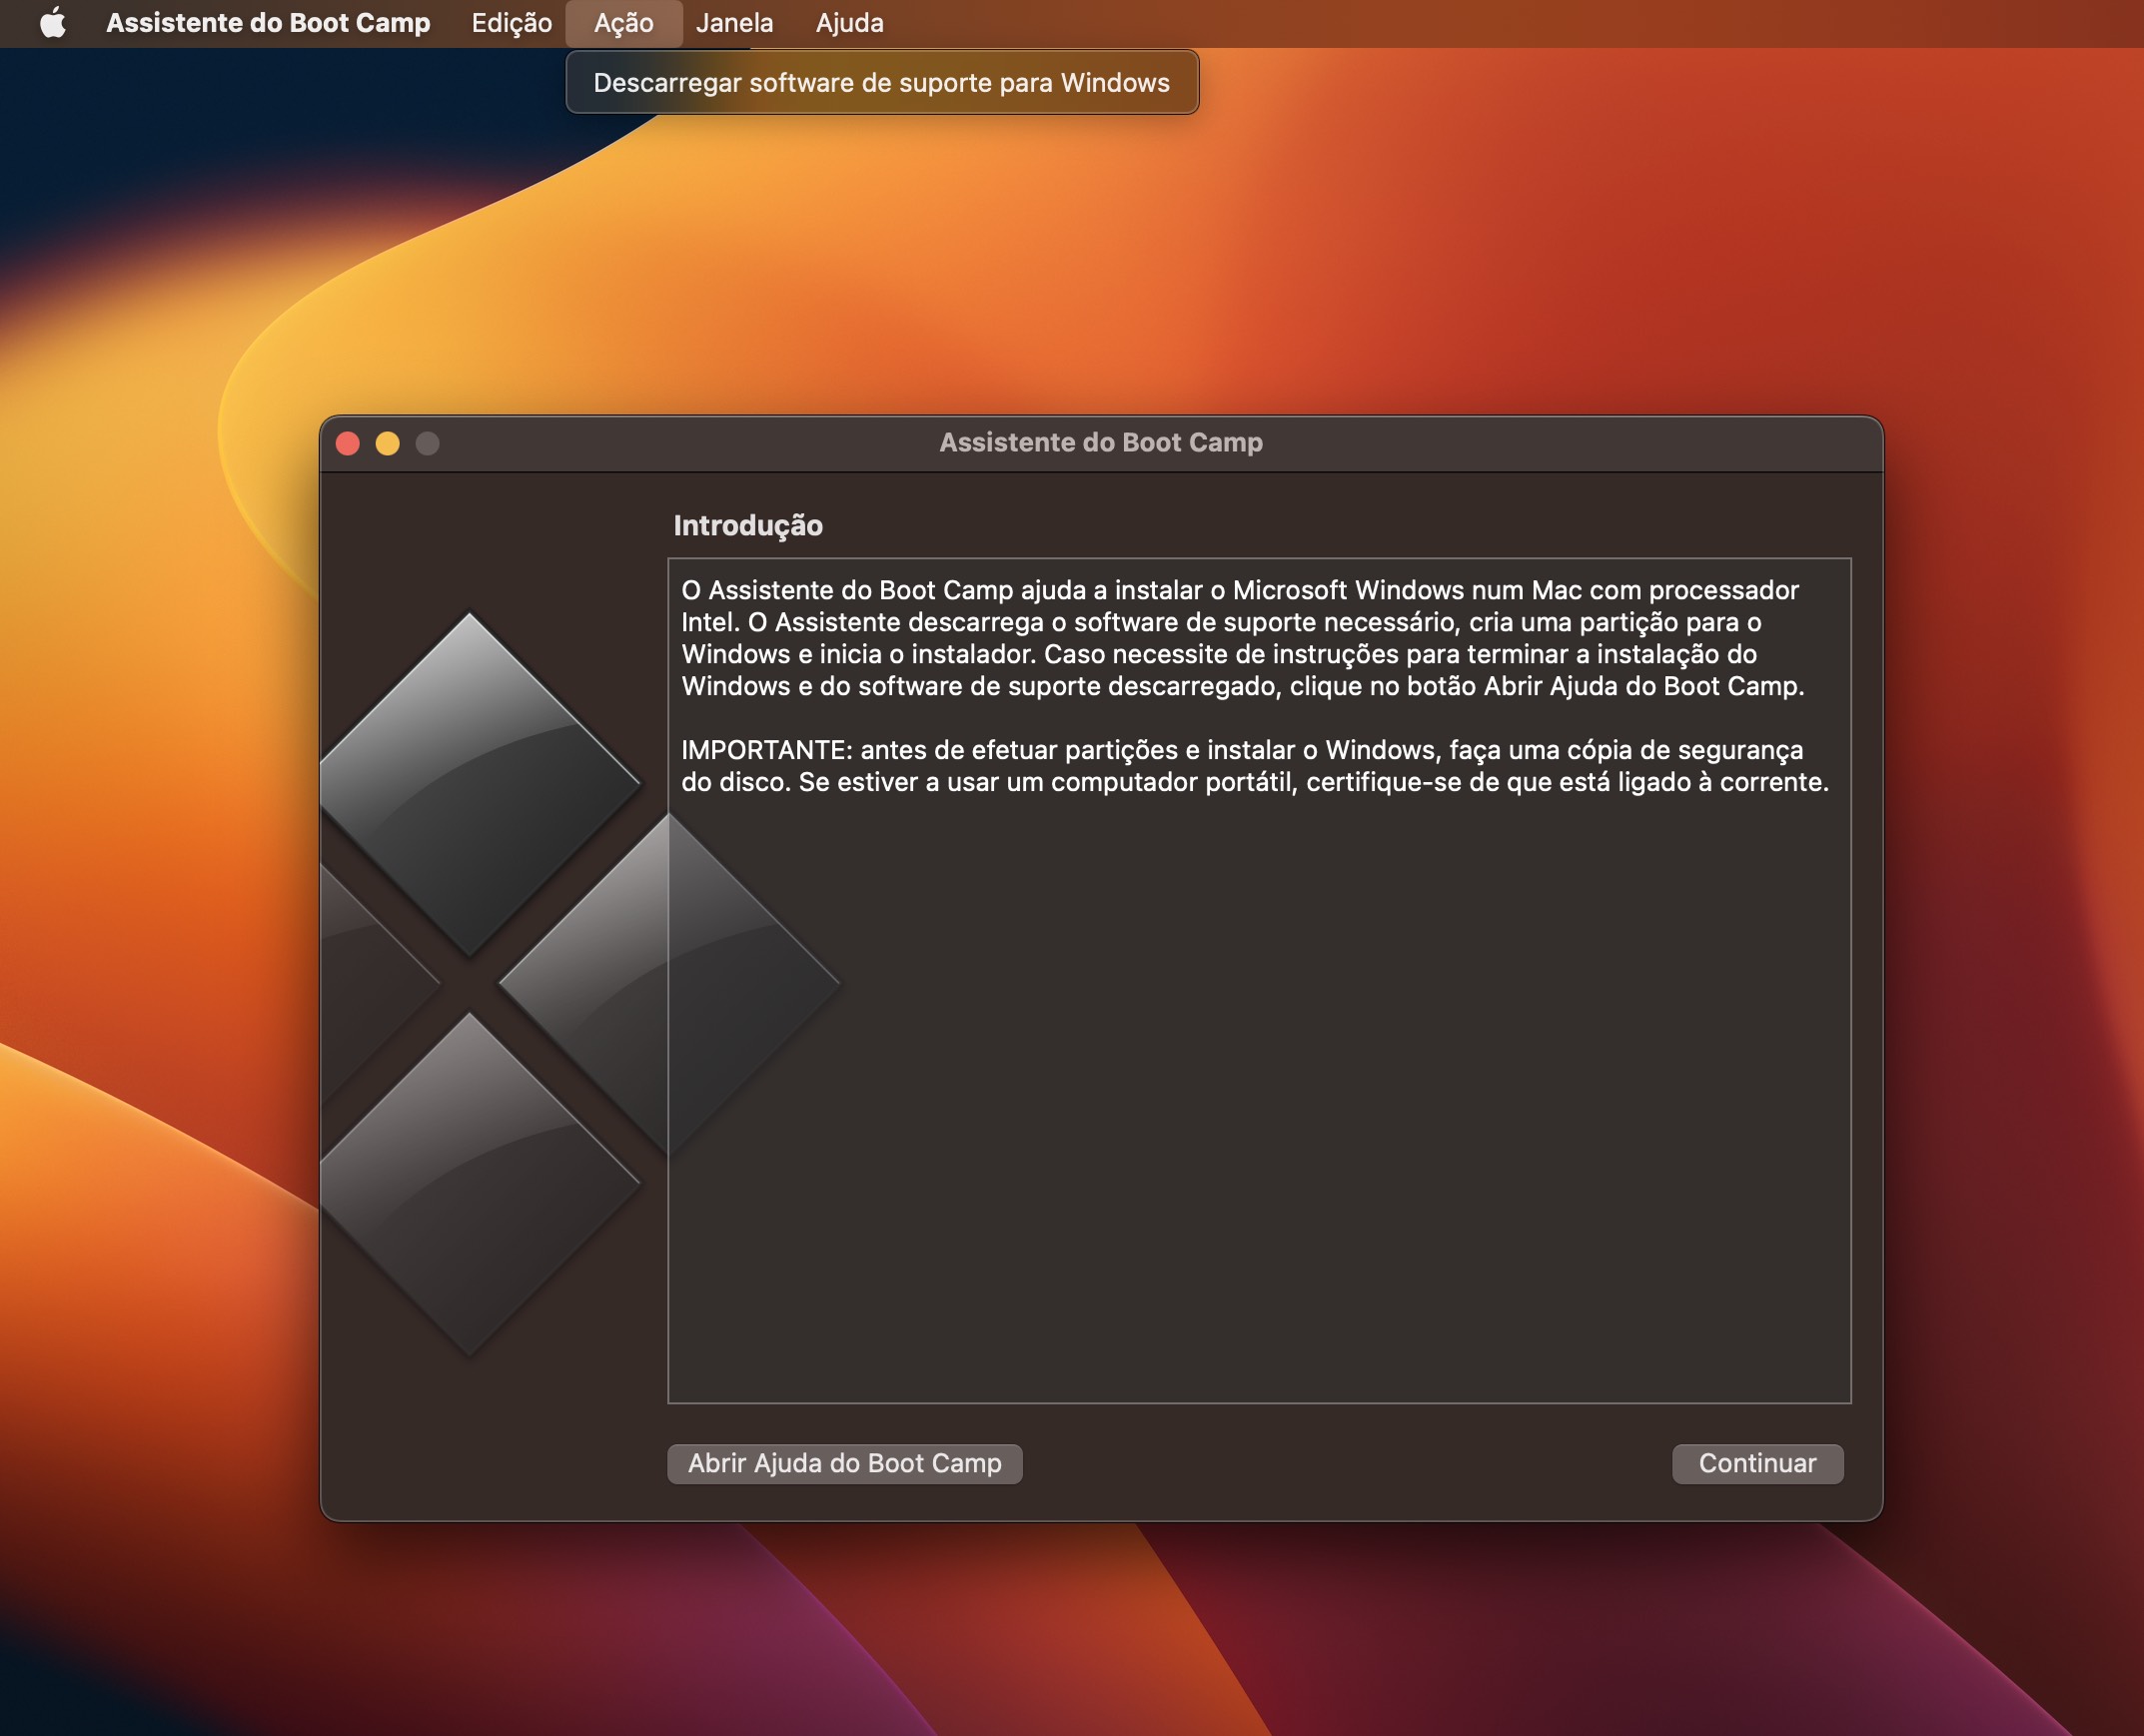
How to install and run Power Bi Desktop on MacBooks with an Intel chip using Apple Boot Camp:
To install Windows 10 or Windows 11 in a MacBook with an Intel chip (e.g., i5, i7, or i9) using Apple Boot Camp, follow the procedures bellow:
Windows 10 – https://www.microsoft.com/pt-pt/software-download/windows10ISO
Windows 11 – https://www.microsoft.com/software-download/windows11

Power Bi Desktop – https://www.microsoft.com/en-us/download/details.aspx?id=58494
For further informations about the installation of Microsoft Windows with Apple Boot Camp, please contact.
If you have a MacBook with limited storage (e.g., only 250GB), you may need a different solution. Installing Windows on an External SSD Drive may helps to save valuable internal storage space on Macbook. In addition, you may have a larger amount of storage dedicated to Microsoft Windows applications, data, and files. However, so far, Boot Camp with External SSD Drive is only available for MacBooks with Intel processors and Parallels Desktop is the only official solution ensured by Microsoft for using Windows 10 or Windows 11 with MacBooks with Apple M-series (i.e., Apple M1 and Apple M2 chips).
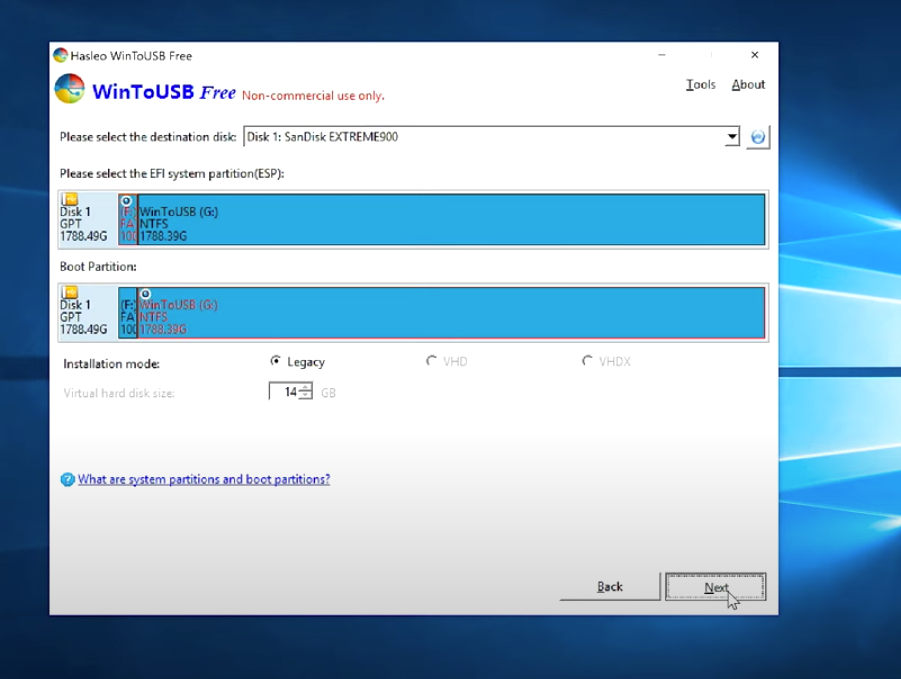
How to install and run Power Bi Desktop on MacBooks with Apple Intel chips with Boot Camp in a External SSD:
Note that this solution requires a SSD Drive with at least 500GB, read/ write speeds of 1.050 / 1.000 MB/s and USB C connection to links the SSD Drive directly to MacBook Thunderbolt ports (i.e., the use of external USB adapters may constrain read/ write speeds). To install Windows 10 or Windows 11 in a MacBook with an Intel chip (e.g., i5, i7, or i9) with Boot Camp and a External SSD Drive follow the procedures bellow:
Windows 10 – https://www.microsoft.com/pt-pt/software-download/windows10ISO
Windows 11 – https://www.microsoft.com/software-download/windows11
WinToUSB – https://wintousb.en.uptodown.com/windows


Power Bi Desktop – https://www.microsoft.com/en-us/download/details.aspx?id=58494
For further informations about the installation of Microsoft Windows with Boot Camp in a External SSD Drive, please contact.